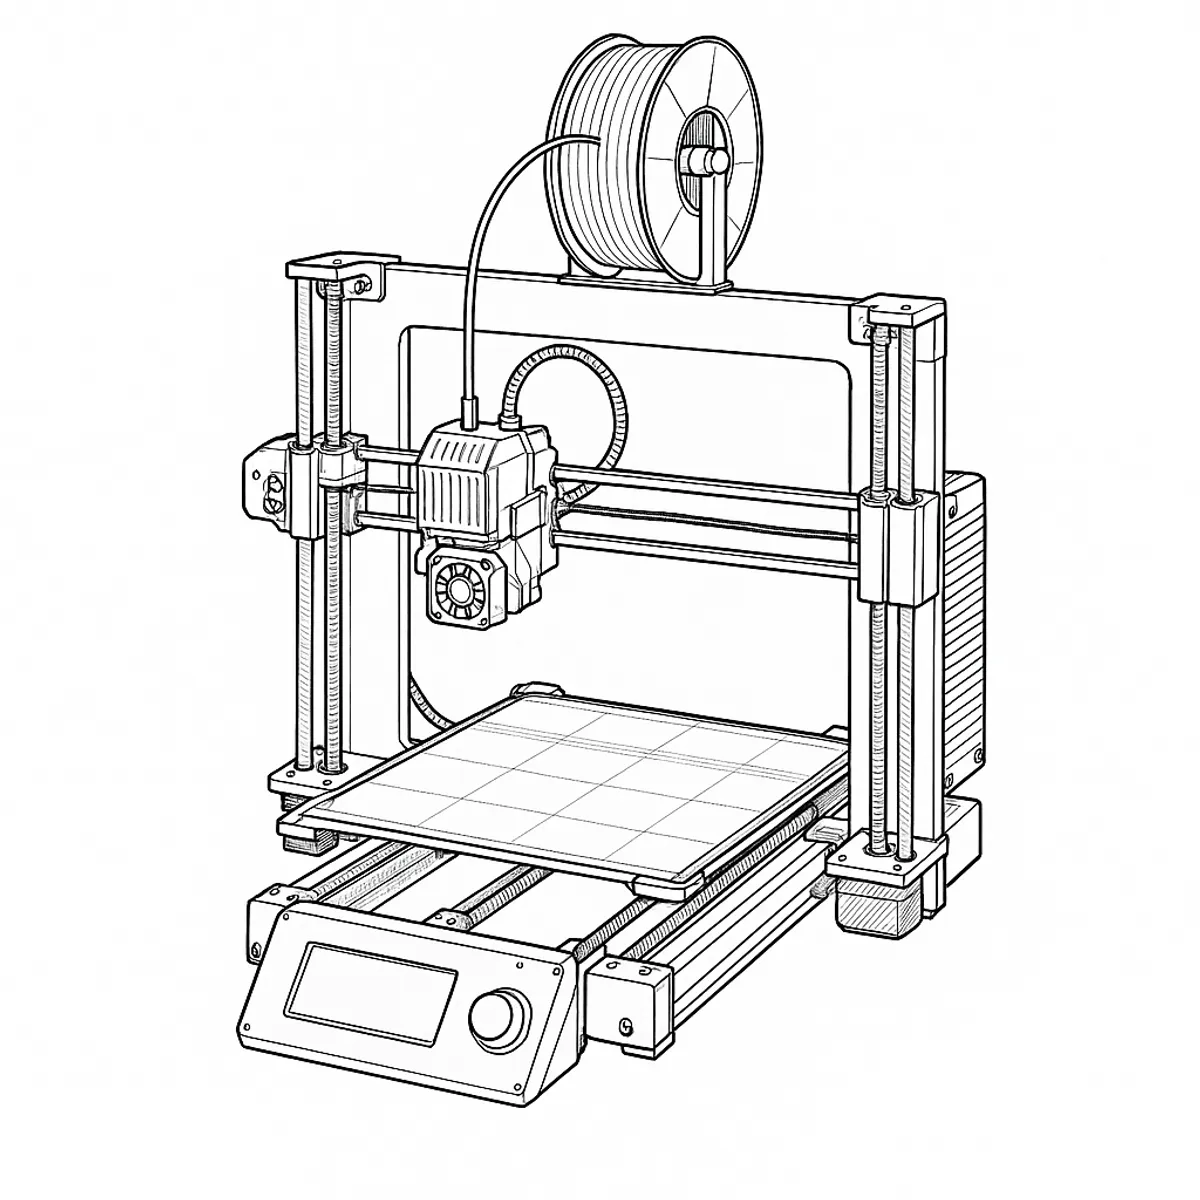
The symptom pattern
A print is started, the printer begins its usual homing sequence, and instead of settling onto the bed it stops with “Failed to home the extruder in Z-axis, make sure the loadcell is working” and the code #13301. It often happens partway down, sometimes after a retry or two, and power-cycling the printer doesn’t reliably clear it.
What’s actually happening
The MK4 doesn’t home Z with a limit switch — it lowers the nozzle until a loadcell in the hotend assembly senses it touching the bed. That’s a clever way to get a self-calibrating first layer, but it means anything that adds resistance to the nozzle’s downward travel looks, to the firmware, exactly like early contact with the bed. The error name points at the sensor, but Prusa’s own troubleshooting order puts the loadcell last, after two purely mechanical checks — because in practice those catch most cases.
The two mechanical culprits are filament drag (an MMU tube or enclosure grommet pulling on the filament path as the extruder lowers) and a trapezoid nut binding on its threaded rod, which physically resists the Z movement the loadcell is trying to measure. Only once both are ruled out does Prusa point you at the sensor itself.
Working through it
Start with the filament path: is anything upstream of the extruder — an MMU feed tube, a snagged spool, an enclosure pass-through — pulling against the nozzle as it lowers? Slack that off before anything else.
Next, with the printer powered off, wind the bed to its lowest point and turn each trapezoid nut by hand on its rod. It should spin freely; if it doesn’t, that friction is enough to trip the error on its own.
If both check out clean, run the printer’s own diagnostic: LCD Menu → Control → Calibration & Tests → Loadcell Test. Tap the nozzle when prompted and watch the progress bar. A bar that fills cleanly and consistently means the sensor works and the fault was mechanical — recheck your first two steps. A bar that doesn’t fill, fills unevenly, or throws an error mid-test points at the loadcell itself.
Before accepting that verdict, check two more things Prusa specifically flags: the two bolts securing the hotend fan and the three bolts holding the heatsink/loadcell assembly. In Prusa’s words, some of the Nextruder bolts “if too tight, might generate extra forces that can be sensed by the loadcell, skewing its readings” — so the fix here is to slacken them slightly, not to tighten further, while still keeping everything secured in place.
Also look at the white adhesive pad on top of the loadcell — visually only; Prusa is explicit about not touching it. If it looks damaged but the loadcell passes its test, leave it. If it looks damaged and the loadcell fails, that is not a pad you replace on its own: it is part of the heatsink assembly.
Verdict
Worth working through in full before assuming a hardware failure — the official diagnostic order exists because most #13301 errors are drag or binding, not a dead sensor, and the fixes for both cost nothing. A loadcell that genuinely fails its own built-in test, with the mechanical causes and bolt tension already ruled out, is a real hardware fault. It sits inside the sealed heatsink/hotend assembly rather than being a separate replaceable part, so at that point it’s a support case with Prusa rather than a teardown to attempt yourself.
Comments & Corrections
No comments yet. Had this fault yourself, or found something different? Tell us below.
Thanks — your comment has been sent for review. Comments are checked by a human before they appear, so expect a delay.