The symptom pattern
A print runs perfectly for an hour, then everything above a certain layer is shifted sideways by a few millimetres — cleanly, as if someone nudged the whole model. Sometimes it happens once per print in the same region; sometimes at random heights. The print below the shift is flawless, which rules out the usual first-layer and extrusion suspects.
What’s actually happening
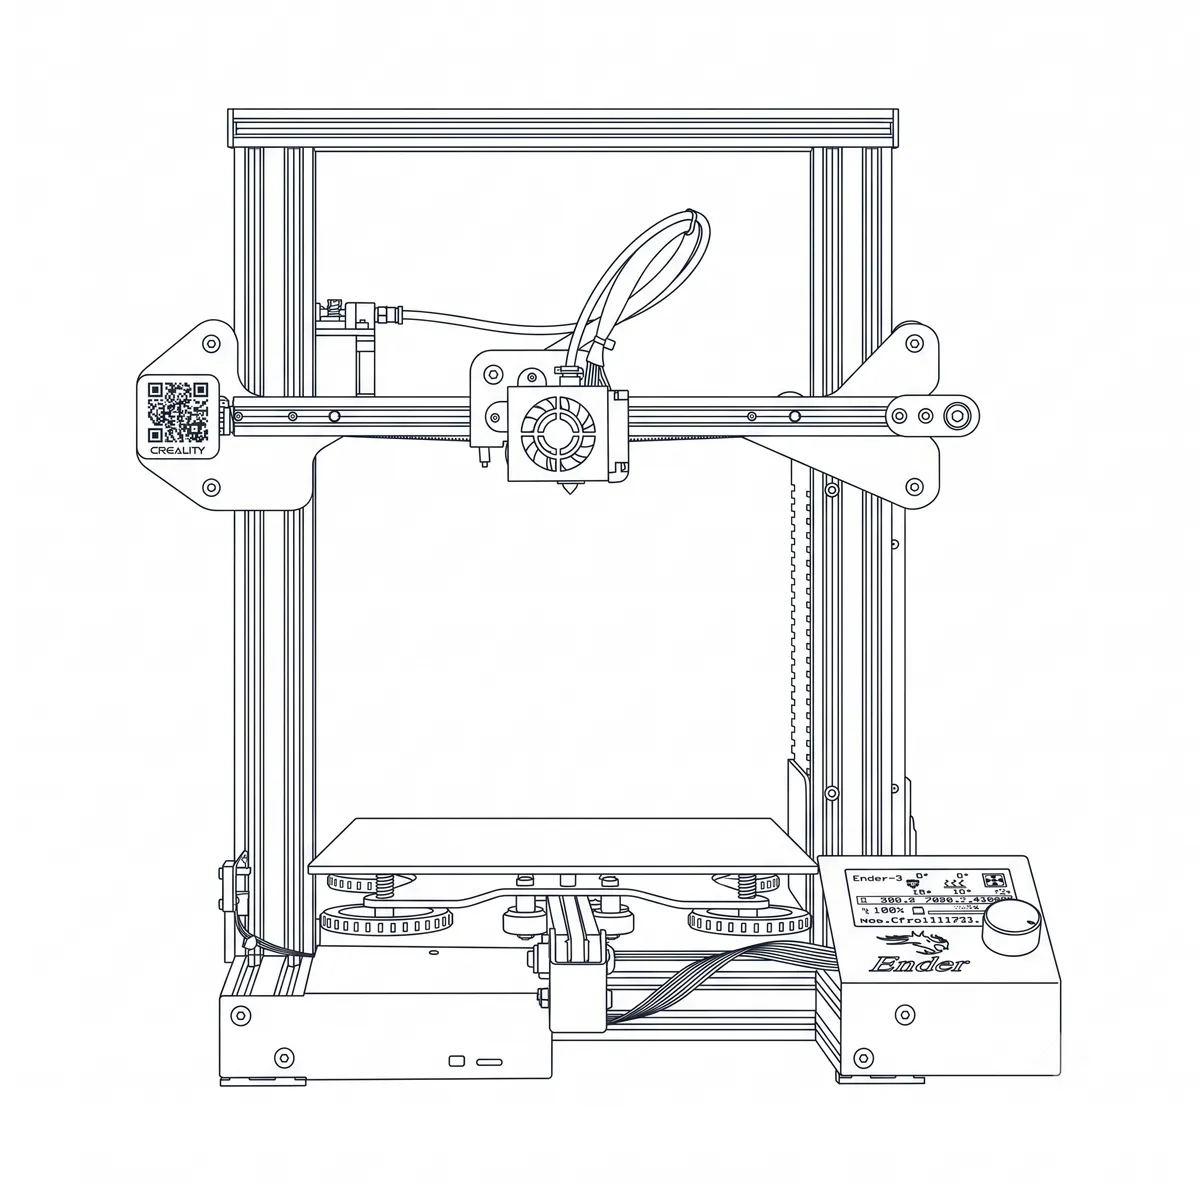
The Ender 3’s motion system is open-loop: the controller counts steps it commands, not steps that happen. Nothing tells it the axis slipped. So any mechanical event that costs the axis position — a pulley slipping on its motor shaft, a belt jumping teeth, the carriage momentarily jamming — becomes a permanent offset that every subsequent layer faithfully reproduces.
The direction of the shift is the best free clue: shifts along X point at the X motor pulley, belt, and carriage; shifts along Y point at the bed’s drive. Diagonal shifts mean both axes lost position, which usually indicates a print that physically collided with the nozzle (curled edges, detached supports) rather than a drive problem.
Working through it
The classic culprit is the pulley grub screw. The small brass pulley on the stepper shaft is held by two tiny grub screws, and if neither is seated on the shaft’s machined flat they work loose with vibration until the pulley slips under acceleration. The marker-dot test — a line across pulley and shaft, checked after a print — catches it with zero disassembly.
Belt tension comes next: too slack and the belt can jump teeth under fast direction changes; drum-tight and it accelerates bearing and motor wear. Then binding: with the machine off, each axis should glide smoothly through its whole travel by hand. Tight spots, debris in the wheel track, or roller wheels over-clamped by their eccentric nuts all add load — and an overloaded stepper doesn’t slow down, it silently skips.
The fix
Seat one grub screw per pulley on the shaft flat and snug both (a drop of threadlocker is cheap insurance), set belt tension to a clean low twang, back off any over-tight eccentric nuts until the wheels just don’t slip, and clear the belt paths. If shifts persist after the mechanical pass, reduce print speed and acceleration in the slicer — marginal electronics show up under aggressive motion settings first.
Verdict
Free fix in almost every case — this is an adjustment fault, not a broken part. Ten minutes with a hex key and a marker pen beats any component you could throw money at.
Comments & Corrections
No comments yet. Had this fault yourself, or found something different? Tell us below.
Thanks — your comment has been sent for review. Comments are checked by a human before they appear, so expect a delay.